

"Mastering React Native: A Comprehensive Guide to Setting Up React Native CLI on Windows"


"Welcome to the world of React Native development on Windows! Getting started might seem daunting, but fear not. In this guide, we'll take you through the simple steps to set up React Native CLI on your Windows machine. Whether you're a seasoned developer or new to the scene, you'll soon be ready to build powerful cross-platform mobile apps with ease. Let's jump right in!"
You will need Node, the React Native command line interface, a JDK, and Android Studio.
Step 1
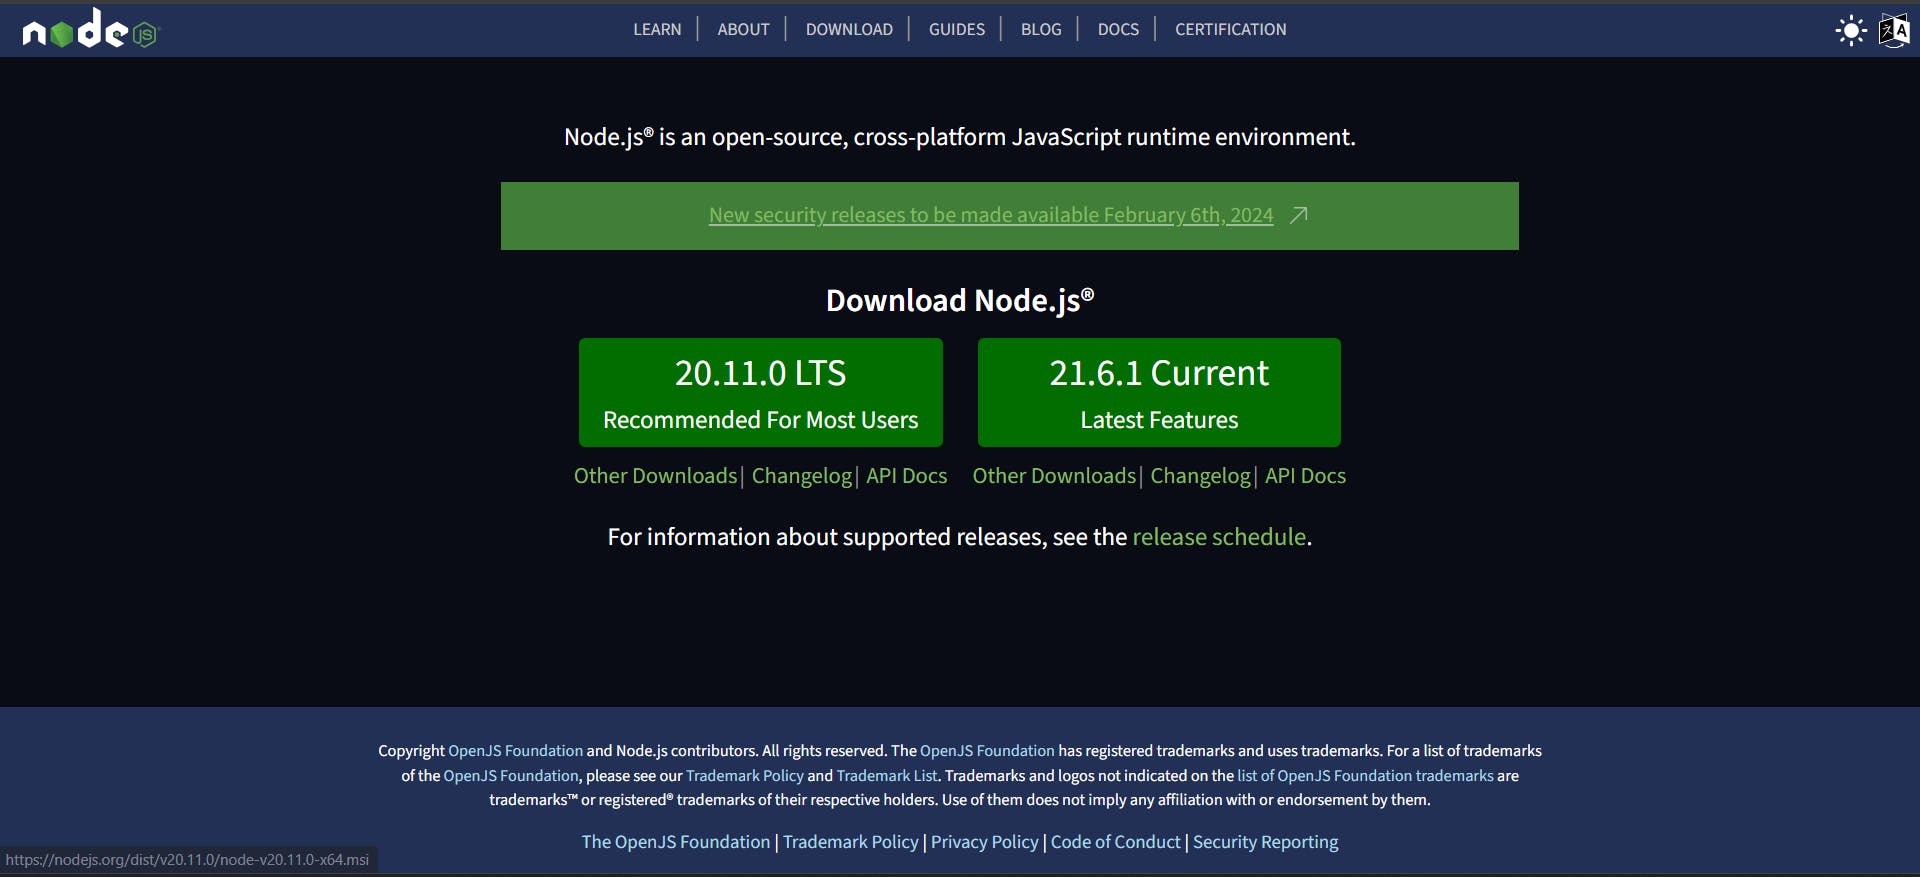
First ensure that you have the upgraded version of NodeJs installed in your machine. If not then download it from Official NodeJs website for website click here
It is recommended to use an LTS version of Node.
Step 2
Now open you PowerShell as administrator and run the following command
Set-ExecutionPolicy Bypass -Scope Process -Force; [System.Net.ServicePointManager]::SecurityProtocol = [System.Net.ServicePointManager]::SecurityProtocol -bor 3072; iex ((New-Object System.Net.WebClient).DownloadString('https://community.chocolatey.org/install.ps1'))
Paste the copied text into your shell and press Enter.
Wait a few seconds for the command to complete.
If you don't see any errors, you are ready to use Chocolatey!
React Native also requires Java SE Development kit (JDK) Which can also be installed using Chocolatey as well.
Open an Administrator Command Prompt (right click CommandPrompt and Select Run As Administrator"), then run the following command:
choco install -y nodejs-lts microsoft-openjdk17
If you have already installed Node on your system, make sure it is Node 18 or newer. If you already have a JDK on your system, we recommend JDK17. You may encounter problems using higher JDK versions.
Step 3
Download and Install android studio for download click here .
Download and install Android Studio. While on Android Studio installation wizard, make sure the boxes next to all of the following items are checked:
Android SDKAndroid SDK PlatformAndroid Virtual DeviceIf you are not already using Hyper-V:
Performance (Intel ® HAXM)
Then, click "Next" to install all of these components
Android Studio installs the latest Android SDK by default. Building a React Native app with native code, however, requires the Android 13 (Tiramisu) SDK in particular. Additional Android SDKs can be installed through the SDK Manager in Android Studio.
To do that, open Android Studio, click on "More Actions" button and select "SDK Manager".
Select the "SDK Platforms" tab from within the SDK Manager, then check the box next to "Show Package Details" in the bottom right corner. Look for and expand the Android 13 (Tiramisu) entry, then make sure the following items are checked:
Android SDK Platform 33Intel x86 Atom_64 System ImageorGoogle APIs Intel x86 Atom System Image
Next, select the "SDK Tools" tab and check the box next to "Show Package Details" here as well. Look for and expand the Android SDK Build-Tools entry, then make sure that 33.0.0 is selected.
Finally, click "Apply" to download and install the Android SDK and related build tools.
Step 4
Configure the ANDROID_HOME environment variable
The React Native tools require some environment variables to be set up in order to build apps with native code.
Open the Windows Control Panel.
Click on User Accounts, then click User Accounts again
Click on Change my environment variables
Click on New... to create a new
ANDROID_HOMEuser variable that points to the path to your Android SDK:
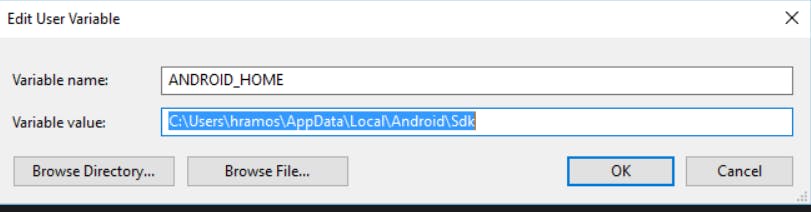
The SDK is installed, by default, at the following location:
%LOCALAPPDATA%\Android\Sdk
Step 5
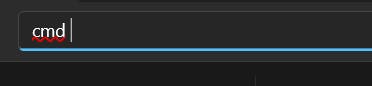
Congratulations you are all done now create a new application by opening any Command Prompt in any folder.
You can open Command Prompt in the desired folder by simply navigating to the folder and then typing cmd in address bar .
like this
now run the following command for creating your first react native project.
npx react-native@latest init AwesomeProject
wait for few seconds and let it complete then run your project by :
cd ProjectName
now type npm start then press a to run on android device physically connected.
That's all Enjoy ! 😍
Share it of you find helpful and also comment for any query i would be happy to answer.